Introduction
There’s something magical about slicing into a beautifully decorated ring of sweet bread on Three Kings’ Day. The anticipation builds as everyone wonders who will find the hidden baby figurine. If you’ve ever wanted to recreate this beloved tradition at home, you’re in the right place.
Making rosca de reyes might seem intimidating at first. After all, it’s a special occasion bread with distinctive flavors and that gorgeous crown-like appearance. But here’s the truth: with the right rosca de reyes recipe and a bit of patience, you can bake this traditional Mexican sweet bread in your own kitchen.
This guide walks you through everything you need to know. You’ll learn about the ingredients that give rosca its unique taste, the techniques that create its soft texture, and the decorating secrets that make it look bakery-perfect.
What Makes Rosca de Reyes Special
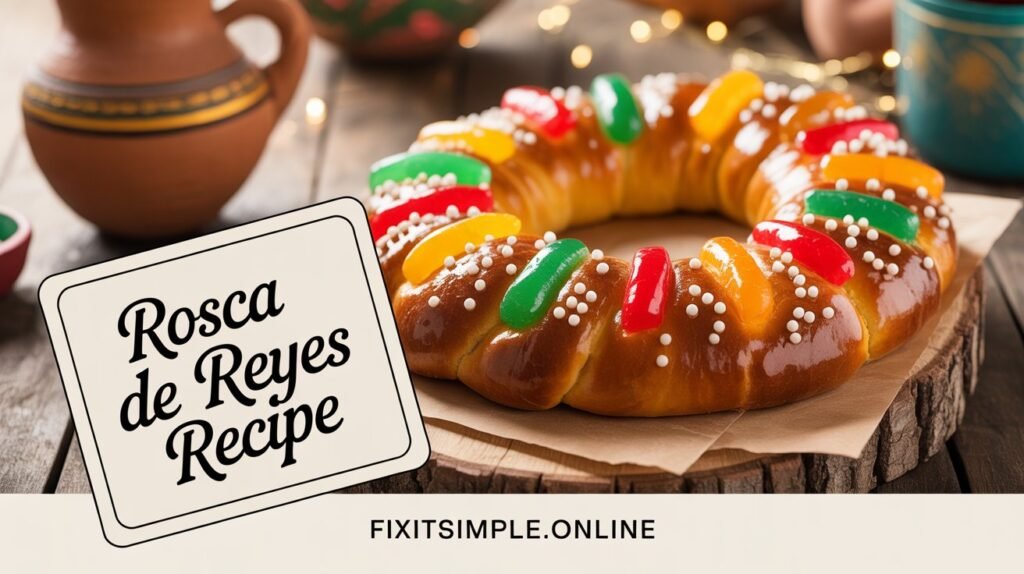
Rosca de reyes isn’t just any sweet bread. It holds deep cultural significance in Mexican and Latin American communities. Traditionally served on January 6th, this ring-shaped bread celebrates the arrival of the Three Wise Men to visit baby Jesus.
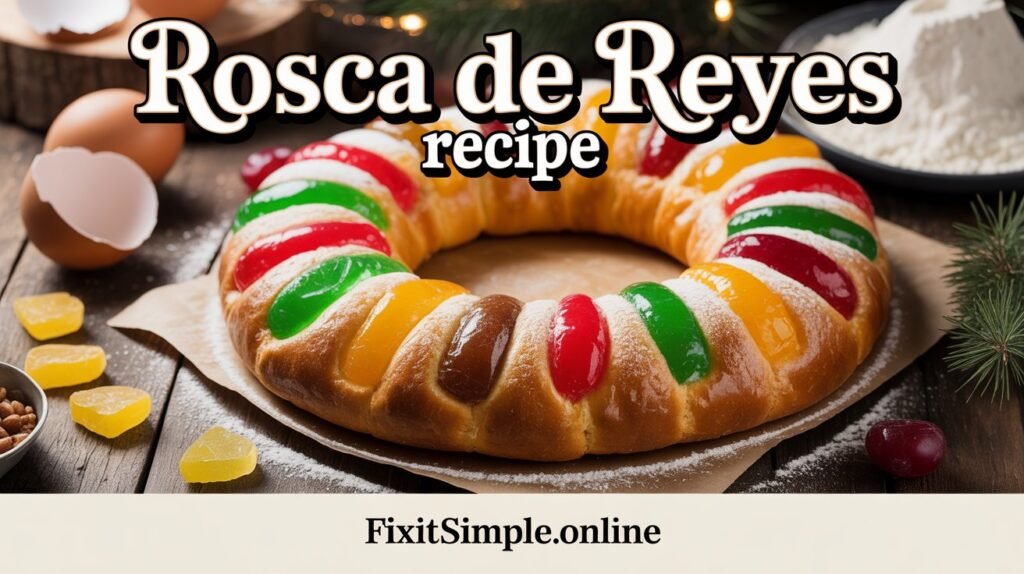
The oval or circular shape represents a king’s crown. Those colorful candied fruits on top? They symbolize the jewels adorning that crown. Inside the bread, bakers hide one or more tiny plastic baby figurines representing Jesus.
Finding the figurine in your slice comes with a sweet responsibility. Tradition says you must host a tamales party on Día de la Candelaria (February 2nd). It’s a beautiful way to keep the celebration going and bring people together.
The bread itself tastes like a cross between brioche and challah. It’s slightly sweet, wonderfully soft, and enriched with butter and eggs. Orange blossom water adds a subtle floral note that makes it distinctively special.
Essential Ingredients for Your Rosca de Reyes Recipe
Getting the right ingredients makes all the difference. Let’s break down what you’ll need and why each component matters.
The Foundation
You’ll need all-purpose flour as your base. Some bakers prefer bread flour for extra structure, but all-purpose works beautifully. The key is measuring correctly—too much flour makes dense bread, while too little creates a sticky mess.
Active dry yeast helps the dough rise and develop that characteristic fluffy texture. Make sure your yeast is fresh. Expired yeast won’t activate properly, and your dough won’t rise.
Whole milk adds richness and helps create a tender crumb. The fat content in whole milk contributes to the bread’s soft texture. You can warm it slightly to help activate the yeast faster.
The Enrichments
Butter is crucial for flavor and texture. European-style butter with higher fat content creates an even more luxurious result. Make sure it’s softened to room temperature so it incorporates smoothly into your dough.
Eggs provide structure, color, and richness. You’ll need them both in the dough and for the egg wash that gives the finished bread its golden sheen.
Sugar sweetens the bread without making it overly sugary. Granulated white sugar works perfectly. The amount is balanced—enough to taste sweet but not so much that it competes with the toppings.
The Flavor Makers
Orange zest brightens the entire loaf. The oils in the zest add aromatic complexity that makes each bite more interesting. Use organic oranges when possible, since you’re using the peel.
Orange blossom water is the secret ingredient many home bakers skip. Don’t make that mistake. This floral water adds an authentic flavor you can’t replicate with anything else. Find it in specialty stores or Middle Eastern markets.
Vanilla extract rounds out the flavor profile. Pure vanilla extract tastes better than imitation, though either works in a pinch.
The Decorations
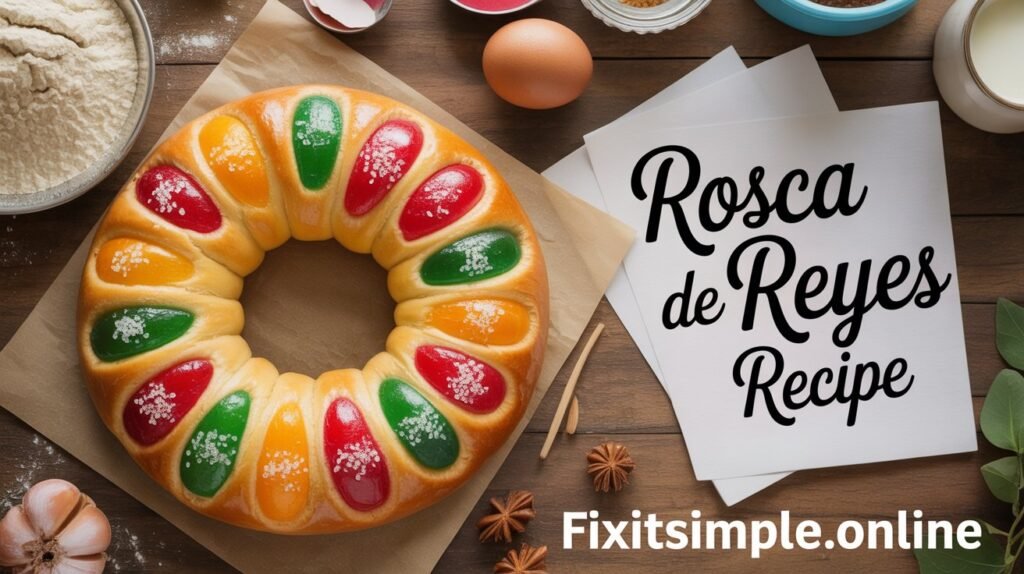
Candied fruits in various colors create that signature crown appearance. Traditional choices include figs, cherries, and orange peel. You can find mixed candied fruit specifically for rosca in Latin American grocery stores.
A simple sugar paste holds everything together. Some recipes use a streusel-like topping instead. Both options taste delicious, so choose based on your preference.
Step-by-Step Rosca de Reyes Recipe Instructions
Ready to start baking? This process takes time but isn’t difficult. Most of the work involves waiting for the dough to rise.
Activating Your Yeast
Start by warming your milk to about 110°F. It should feel warm but not hot when you test it with your finger. Too hot kills the yeast, while too cold won’t activate it properly.
Pour the warm milk into a small bowl. Sprinkle the yeast over the top and add a pinch of sugar. Let this mixture sit for 5 to 10 minutes. You’ll know it’s ready when it becomes foamy and bubbly on top.
Making the Dough
In a large mixing bowl, combine flour, sugar, and salt. Create a well in the center. This well is where you’ll add your wet ingredients.
Pour the activated yeast mixture into the well. Add beaten eggs, softened butter, orange zest, vanilla extract, and orange blossom water. Start mixing from the center, gradually incorporating the flour from the sides.
You can mix by hand or use a stand mixer with a dough hook attachment. Mix until everything combines into a shaggy dough. This takes about 3 to 5 minutes by hand or 2 minutes with a mixer.
Kneading to Perfection
Turn the dough onto a lightly floured surface. Knead it for 10 to 15 minutes until it becomes smooth and elastic. The dough should feel soft and slightly tacky but not sticky.
With a stand mixer, knead on medium speed for 8 to 10 minutes. The dough is ready when it pulls away from the sides of the bowl and springs back when you poke it.
First Rise
Shape the dough into a ball and place it in a greased bowl. Turn it once so the greased side is up. Cover the bowl with plastic wrap or a damp kitchen towel.
Let it rise in a warm, draft-free place for 1.5 to 2 hours. The dough should double in size. A warm oven (turned off) or a sunny spot works well.
Shaping Your Rosca
Once risen, punch down the dough to release air bubbles. Turn it onto a lightly floured surface. Shape it into a log about 24 inches long.
Bring the ends together to form a ring, pinching them firmly to seal. The hole in the center should be fairly large—about 4 to 6 inches in diameter. It will shrink slightly during the final rise and baking.
Place the shaped ring on a parchment-lined baking sheet. If you’re including the traditional baby figurine, push it into the bottom of the ring now. Make sure it’s well hidden but not too deep.
Second Rise
Cover the shaped rosca loosely with plastic wrap. Let it rise for another 45 to 60 minutes. It should puff up noticeably but won’t quite double this time.
Decorating Before Baking
While the dough rises, prepare your decorations. If you’re making sugar paste, mix softened butter with powdered sugar and flour until it forms a thick paste. You can also prepare a simple streusel topping.
Once the dough finishes its second rise, brush it gently with beaten egg. This egg wash creates that beautiful golden color. Drizzle or spread your sugar paste in lines across the top of the ring.
Press candied fruits into the paste, alternating colors to create an appealing pattern. Traditional placement forms lines that radiate from the center, but you can arrange them however you like.
Baking Your Masterpiece
Preheat your oven to 350°F. Bake the rosca for 25 to 35 minutes. The exact time depends on your oven and the size of your ring.
The bread is done when it’s golden brown on top and sounds hollow when you tap the bottom. An instant-read thermometer should register about 190°F in the center.
Let it cool on the baking sheet for 10 minutes, then transfer to a wire rack. Allow it to cool completely before slicing. This helps the texture set properly.
Tips for Rosca Success
Every baker develops their own tricks over time. Here are some insights that will help your first rosca turn out beautifully.
Temperature Matters
Yeast is sensitive to temperature. If your kitchen is cold, rising times will be longer. You can create a warm environment by turning your oven on for just one minute, turning it off, and placing the dough inside.
Don’t Rush the Rise
Proper rising develops flavor and texture. If you rush this step, your bread will be dense and less flavorful. Plan your baking day accordingly, knowing you’ll need several hours from start to finish.
Flour Adjustments
Humidity and flour brands affect how much flour you need. Start with the amount listed in the recipe, but be prepared to add a bit more or less. The dough should be soft and slightly tacky but manageable.
Make-Ahead Options
You can prepare the dough through the first rise, then refrigerate it overnight. The next day, let it come to room temperature before shaping. This slow fermentation actually improves the flavor.
Decoration Variations
While traditional rosca uses candied fruits, you can get creative. Some bakers add sliced almonds, pearl sugar, or even strips of colored marzipan. Just remember that whatever you use should be oven-safe.
Common Rosca de Reyes Recipe Problems and Solutions
Even experienced bakers encounter issues sometimes. Here’s how to troubleshoot common problems.
Dense or Heavy Bread
This usually means the dough didn’t rise enough or you used too much flour. Make sure your yeast is fresh and give the dough plenty of time to rise. When measuring flour, spoon it into the measuring cup rather than scooping directly.
Dough Too Sticky
Add flour gradually, one tablespoon at a time, until the dough becomes manageable. Different brands of flour absorb liquid differently, so adjustments are normal.
Bread Collapses After Baking
This can happen if the dough over-proofed during the second rise. Watch the timing carefully and bake when the dough looks puffy but not overly expanded.
Toppings Fall Off
Make sure you press the candied fruits firmly into the sugar paste or streusel. The egg wash also helps them adhere better. Letting the decorated bread rest for 10 minutes before baking helps too.
Storing and Serving Your Rosca
Fresh rosca tastes best, but you can keep it delicious for several days with proper storage.
Room temperature storage works well for the first two days. Wrap the cooled bread tightly in plastic wrap or place it in an airtight container. It stays fresh and soft this way.
For longer storage, freeze individual slices. Wrap each slice in plastic wrap, then place them all in a freezer bag. Frozen slices keep for up to three months. Thaw at room temperature or warm briefly in the microwave.
Traditional serving involves hot chocolate or champurrado. The slightly sweet bread pairs beautifully with these warm beverages. Many families gather around the table, and everyone takes turns cutting their own slice.
You can also serve rosca with butter or jam. Some people toast day-old slices for breakfast. The possibilities are endless.
The Cultural Significance Beyond the Recipe
Understanding the tradition makes baking rosca even more meaningful. This bread connects you to centuries of cultural heritage and family traditions.
The Feast of the Epiphany celebrates the Three Wise Men’s journey to Bethlehem. In many Latin American countries, January 6th is when children receive gifts, similar to Christmas in other cultures.
Families gather to share the rosca together. The person who finds the baby figurine becomes the “godparent” for the year. This person must then host the celebration on Día de la Candelaria, continuing the cycle of gathering and sharing.
Many bakeries start preparing weeks in advance. Traditional panaderos take pride in their recipes, often passed down through generations. By making your own rosca de reyes recipe at home, you become part of this living tradition.
Variations to Try
Once you master the basic recipe, experimenting becomes fun. Here are some variations worth exploring.
Filled Rosca
Some bakers add fillings between layers of dough. Cream cheese, guava paste, or cajeta (Mexican caramel) work beautifully. Roll the dough into a rectangle, spread the filling, roll it up, and shape into a ring.
Chocolate Rosca
Add cocoa powder to the dough for a chocolate version. Use chocolate chips or chunks as decoration instead of candied fruit. This modern twist appeals to chocolate lovers.
Mini Roscas
Instead of one large ring, make individual-sized roscas. They bake faster and make portion control easier. Plus, everyone gets their own beautifully decorated bread.
Savory Rosca
While less traditional, savory versions exist. Reduce the sugar significantly, add cheese and herbs to the dough, and skip the sweet toppings. These work well as dinner bread.
Frequently Asked Questions
What does rosca de reyes taste like?
Rosca de reyes tastes like a lightly sweetened brioche with hints of orange and floral notes from orange blossom water. The texture is soft, fluffy, and buttery, making it perfect for dunking in hot chocolate or coffee.
Can I make rosca de reyes without orange blossom water?
Yes, though the flavor won’t be quite as authentic. You can substitute with extra vanilla extract and additional orange zest, or use a small amount of rose water if you have it available.
How do I know when my rosca is fully baked?
The bread should be golden brown on top and sound hollow when tapped on the bottom. An instant-read thermometer inserted into the thickest part should read around 190°F. The decorations should be set but not burned.
Can I use instant yeast instead of active dry yeast?
Absolutely. Instant yeast doesn’t need to be activated first, so you can mix it directly with the dry ingredients. Use the same amount called for in the recipe.
Why is my rosca dough not rising?
The most common causes are expired yeast, liquid that was too hot and killed the yeast, or a kitchen that’s too cold. Make sure your yeast is fresh, your liquid is warm but not hot, and place the dough in a warm spot.
Where can I buy the baby figurines for rosca?
Look for them in Latin American grocery stores, cake decorating supply shops, or online. They’re usually sold in packs specifically for rosca de reyes. Make sure they’re food-safe plastic.
Can I make the dough the night before?
Yes, this actually works really well. After the first rise, punch down the dough, cover it tightly, and refrigerate overnight. The next day, let it come to room temperature for about 30 minutes before shaping.
What’s the best way to slice rosca de reyes?
Use a serrated knife and a gentle sawing motion. Let the bread cool completely first, as warm bread tends to compress when sliced. Cut pieces about 1 to 2 inches thick.
How many people does one rosca serve?
A standard rosca serves 8 to 12 people, depending on how thick you slice it. If you’re serving a larger crowd, you can make two roscas or scale up the recipe.
Can I decorate rosca without candied fruit?
Yes, though candied fruit is traditional. You can use colored sugar, sliced almonds, pearl sugar, or even dried fruit. Just make sure whatever you choose can withstand baking temperatures.
Conclusion
Making your own rosca de reyes recipe at home brings a beloved tradition right into your kitchen. The process takes time and patience, but the results are absolutely worth it. You’ll create not just a beautiful bread, but also lasting memories with family and friends.
The soft, sweet dough enriched with butter and eggs creates an irresistible texture. Those bright candied fruits and golden crust make it as stunning to look at as it is delicious to eat. And hiding that little figurine inside adds an element of fun and tradition that everyone enjoys.
Start with the basic recipe until you feel confident with the techniques. Then branch out and try variations that appeal to your taste. Whether you stick with tradition or add your own creative touches, you’ll be participating in a celebration that connects people across generations and cultures.
Ready to try your hand at this festive bread? Gather your ingredients, set aside an afternoon, and prepare to impress everyone with your homemade rosca de reyes. Who knows—you might just start a new tradition in your own family. What will you serve alongside your freshly baked rosca?
Also read fixitsimple.online